buy Aurogra oral I am not a baker, y’all, so when a regular Kids Cooking Class client called to explain her son is turning 12 and wants to host a cake baking class, fight or flight set in and I froze in terror. My eyes widened, and my heart sank to my stomach as a vision of a cake baking chaos with 12-year-olds in tow flashed into my mind. Then I thought, “What would Julia Child do?” She would put on her big girl panties and get to baking. That’s what!
So I agreed and quickly set to work combing through recipes, buying cake decorating supplies, and practicing, a lot.
Of course, I took my baking section of culinary school like everyone else, but it had been at least six years since I baked a cake from scratch and decorated it as well, so I needed to reeducate myself. I Facebook stalked Amanda Rettke of www.iambaker.net, pulled reader submitted tips from my Cooks Illustrated magazines, and reviewed the annals of the incomparable Alton Brown’s Food Network show, Good Eats, for as many nuggets of cake baking wisdom I could dig up.
This is the first of a three post series on my cake baking and decorating experiment. Check out Part 2 – Buttercream Bonanza and Part 3 – Layered, Not Stirred.
Cake Baking and Decorating Equipment
I’m going to tell you about The Perfect White Cake, promise, but before I can do that I need to give you the scoop on baking equipment. My kitchen was well stocked with equipment for cooking, but when it came to baking and pastry I was poorly supplied. It turns out I had even misplaced my set of pastry tips from my culinary school days!
There was no way around it, I had to go shopping (darn). I made three trips to Ace Mart Restaurant Supply and one trip to Hobby Lobby over the course of my cake baking escapades . Here is a list of the equipment I needed:
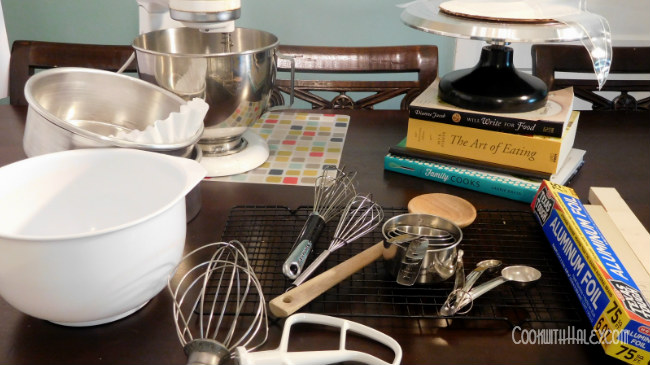
Cake Decorating Equipment I bought
- 8″ cake pans
- Rotating cake stand
- Large and small offset spatulas (offset is key)
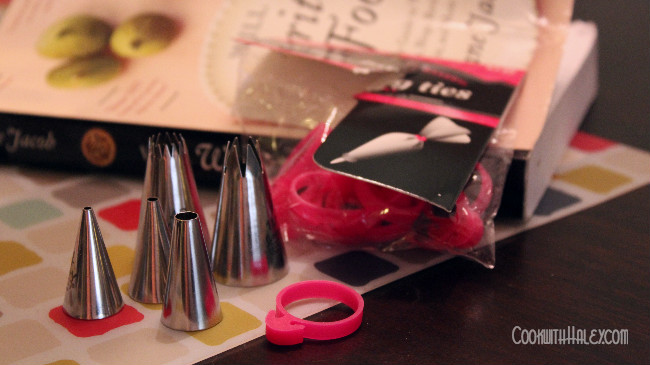
- piping bags
- Piping tips
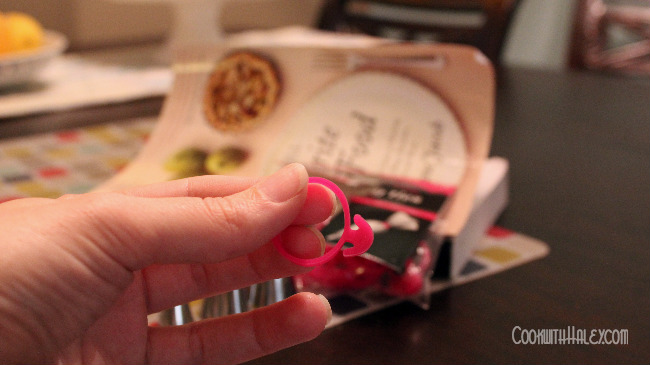
- Piping bag ties (really awesome purchase)
- Cake rounds
- Cake tester (thin metal stick used for testing doneness of a cake)
- Mesh strainer for sifting (don’t buy one of those spring loaded hand sifters, they hurt your arm and they break)
Cake Decorating Equipment I Had
- Bench scraper (for leveling/smoothing buttercream)
- Disposable plastic knife (for unsticking cake from edges of pan)
- 8-12 Cup coffee filters (for lining the cake pans)
- Kitchen Aid Stand Mixer with whisk and paddle attachments (hand held would probably work, but I only have a stand)
- Cooling racks
- Precut parchment paper (awesome product!)
- Plastic wrap
Finding the Right Cake Recipe
As far as cake goes I was looking for something delicious, obviously, but also something sturdy enough to hold up to a group of 12-year-old boys invariably man handling it as they decorate, and simple enough that the boys don’t lose interest with lots of detailed techniques.
In culinary terms I was looking for an all-in-one cake, in which all ingredients are combined in one bowl, or at the very least a “flour-batter” method in which flour and fat are mixed together while wet ingredients are whipped separately then poured into the dry.
I was looking for a magical unicorn, perfect in every way. Did such a perfect cake actually exist?
Nobody panic! I found my magical unicorn of a cake by slightly adapting a recipe by from www.Iambaker.net! Look guys, technically speaking I am a baking novice. I just haven’t had the opportunity to log 10,000 hours of cake baking and decorating. I am in no place to completely reinvent the cake baking wheel here, but I’m not going to let that stop me from giving the gift of baking to a group of tweens and you all!
If even one of these kids either a. decides he wants to become a baker to share sweet treats with the world in an effort to bring about world peace (or just because) or b. learns that not everything has to be perfect, everyone has to start learning somewhere, and we all make mistakes, then I think I’ve done my job as an instructor.
I’m a firm believer of consulting with the experts when I don’t have the answers. I adapted Amanda Rettke’s Perfect Bakery Style White Cake (Link to original below).

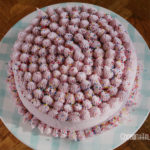
The Perfect White Cake
Prep Time: 30 minutes
Cook Time: 30-40 minutes
Serves: 12-16
- 1 cup milk *at room temperature*
- 6 large egg whites *at room temperature,* Whisked
- 2 teaspoons almond extract
- 1 teaspoon vanilla extract
- 2 1/4 cups AP flour
- 4 teaspoons baking powder
- 1 3/4 cups granulated sugar
- 1 teaspoon table salt
- 1 1/2 sticks unsalted butter, softened but still cool
- Preheat oven to 350 degrees. Grease two 8-inch cake pans and line with parchment or an 8-12 cup coffee filter. Bring milk and eggs to room temperature.
- In a medium size mixing bowl, whisk together egg whites, almond extract, and vanilla extract until slightly frothy.
- Add milk and whisk until thoroughly combined.

- In the bowl of an electric mixer, whisk all purpose flour, sugar, baking powder, and salt. Add cubed butter and beat with paddle attachment on low for about 1-2 minutes.
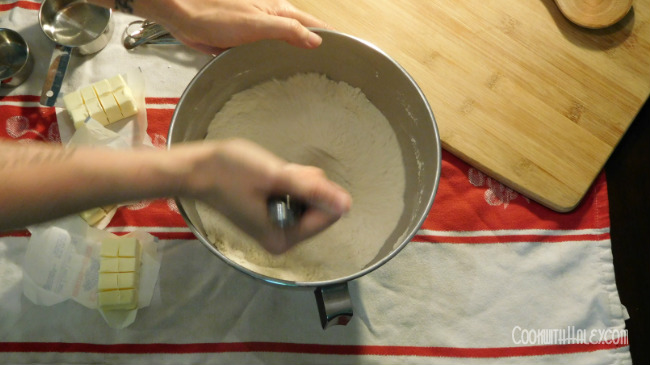
Hand whisk or mix on low with paddle attachment. 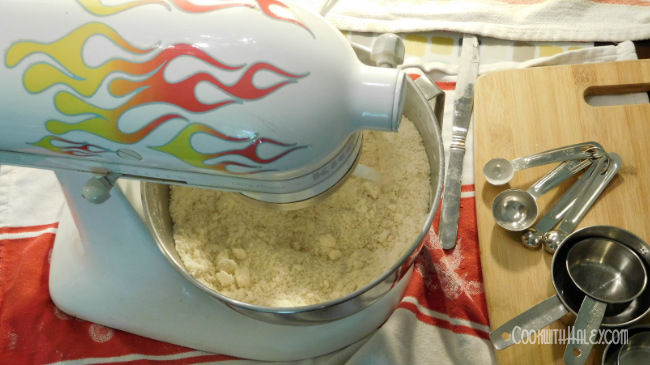
When a dough or crust recipe says to “cut in” or “rub in” the butter until you have “pea size” or “coarse” crumbs, this is is what you’re looking for. - Add all but 1/2 cup of milk mixture to flour mixture and beat at medium speed for 1 1/2 minutes. Add remaining 1/2 cup of milk mixture and beat for about 1 minute.
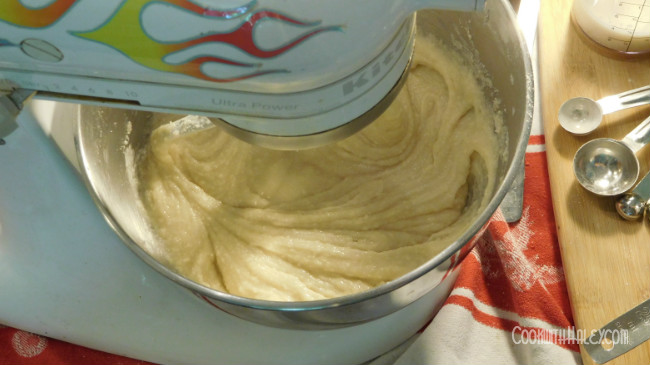
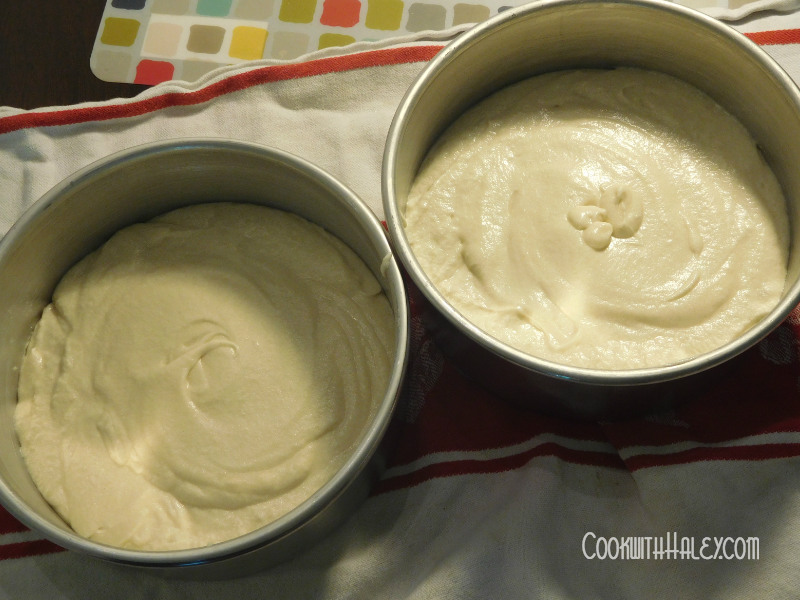
- Divide batter evenly between the two greased and lined cake pans.
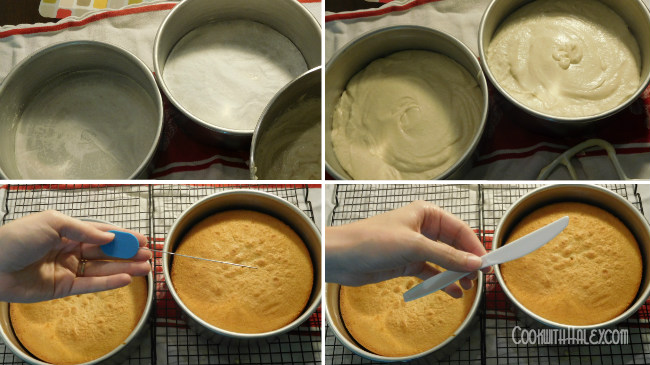
Use 8-12 cup coffee filters to line your pans. Use a cake tester to check for doneness. Use a plastic knife to release the edges of the cake from the pan without scratching your pan or ruining a knife. - Bake until cake tester inserted in the center comes out clean, 30 to 40 minutes.
- Allow cakes to cool in the pans for 5 minutes. Turn the cakes out and let them cool to room temperature on parchment lined cooling racks. After cakes have cooled they can be wrapped in plastic wrap, separately, and refrigerated for up to 24 hours.

- Frost cakes with favorite frosting.
- Adapted from [I Am Baker |The Perfect White Cake], taken from epicurious (who took it from Cooks Illustrated — see, nothing’s truly original).
You May Also Like
You May Also Like
The Great Cake Experiment Part 3 – Layered, Not Stirred
There are few things more impressive than a beautifully crafted…
The Great Cake Experiment Part 2 – Buttercream Bonanza

I’m six years old and I have just taken a…